

How an Economy Ball Mill Head & Trunnion Assembly Is Made
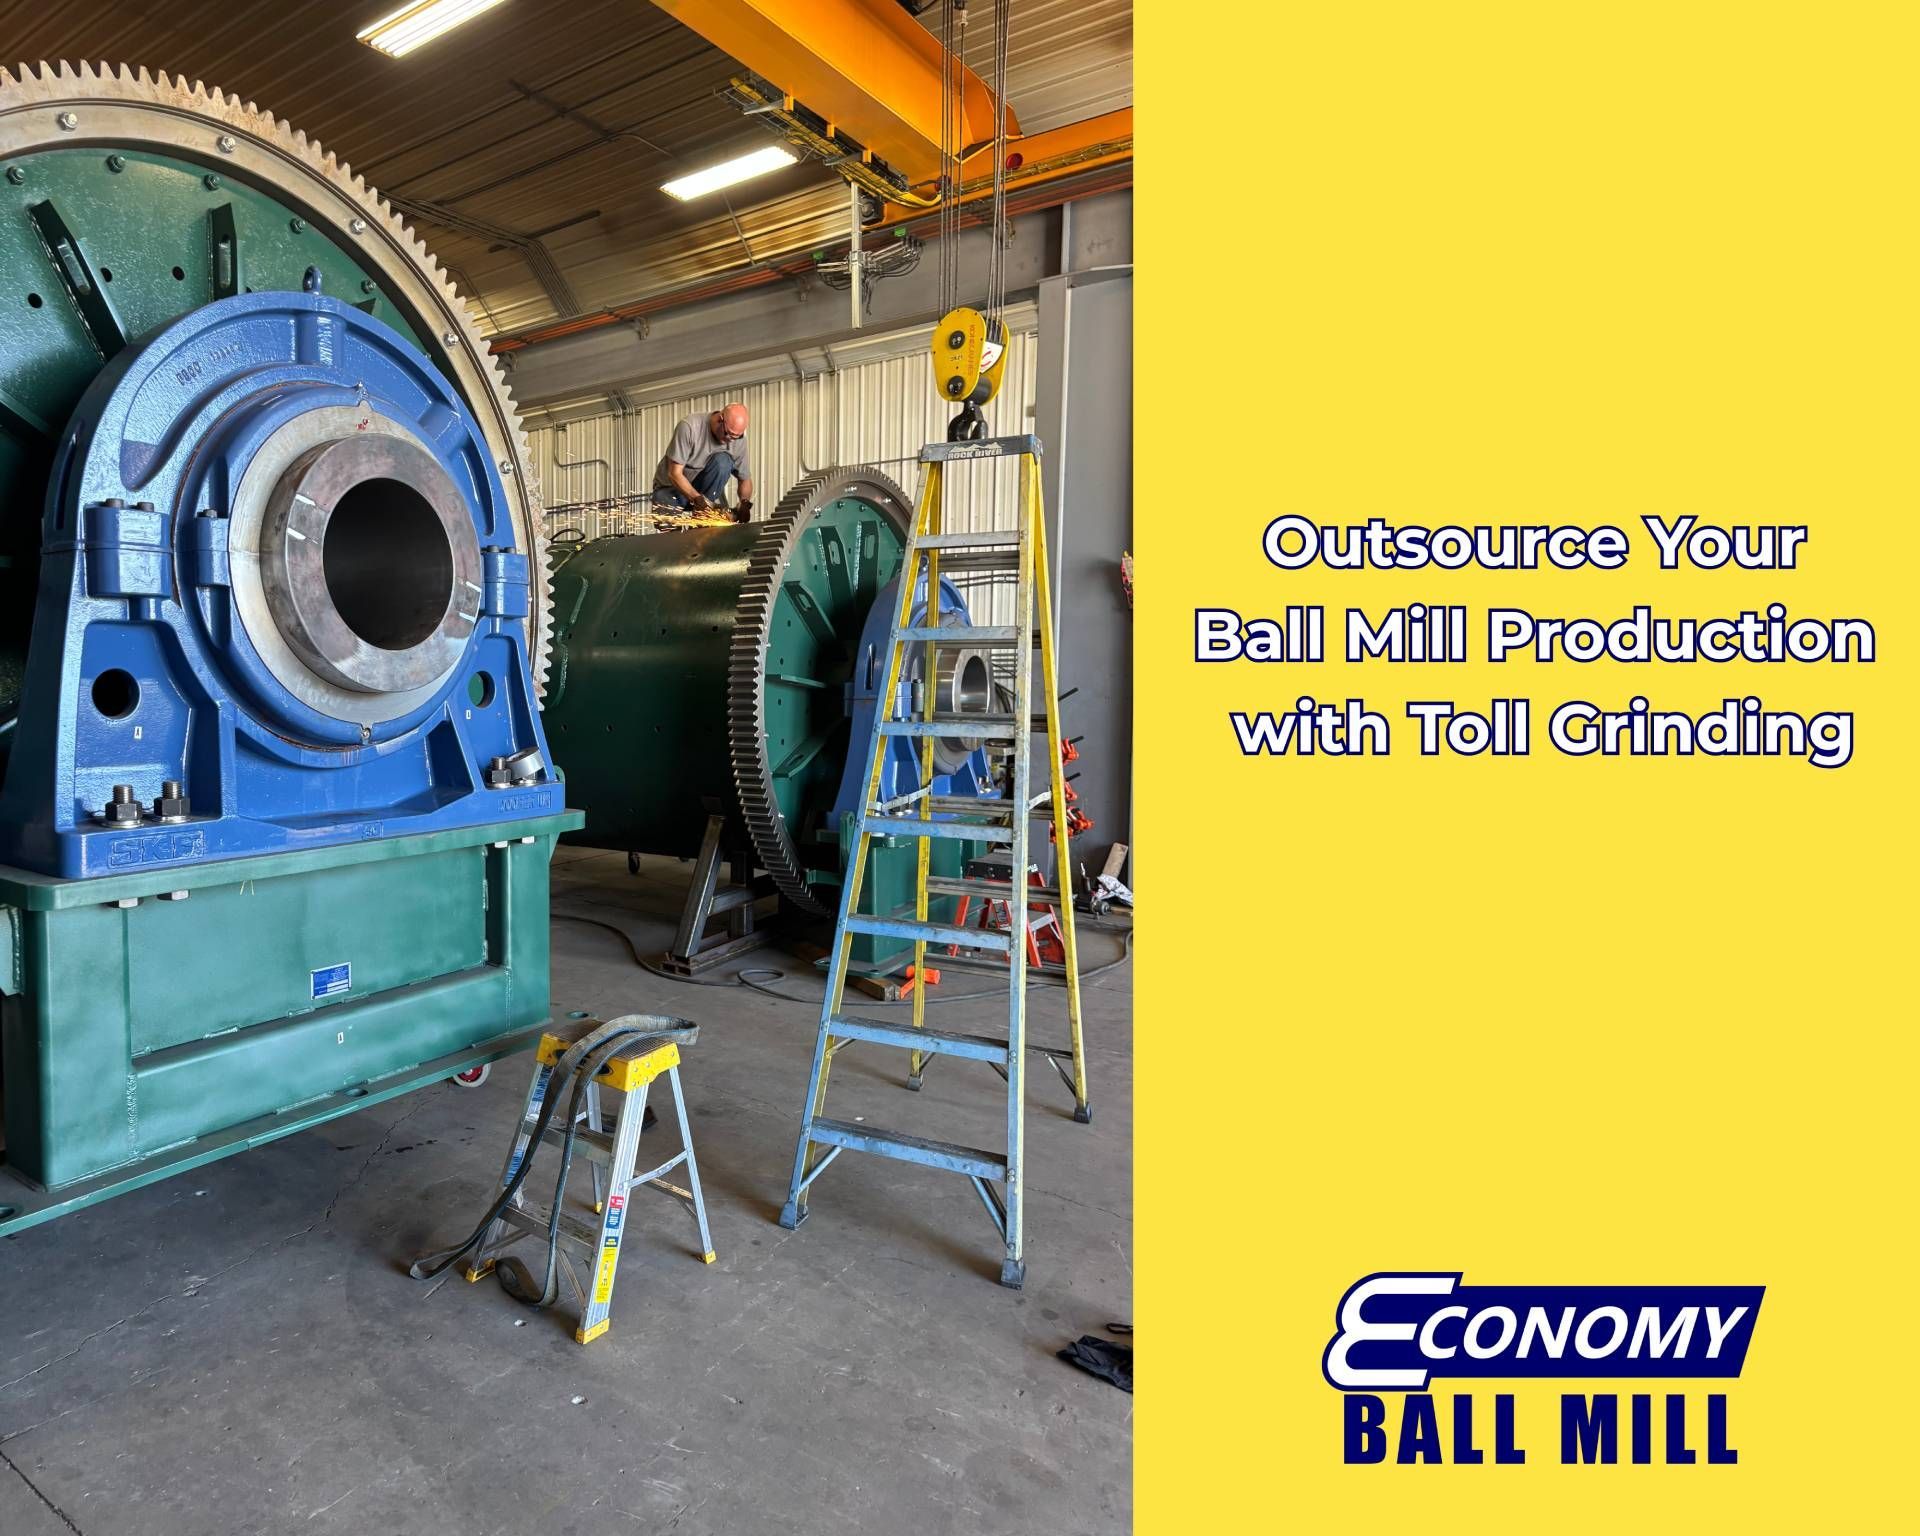
A custom ball mill is made up of multiple fabricated and machined components that have to work together under demanding operating conditions—and keep working to stand up to those conditions at production scale.
Most people who work with a ball mill regularly already know what happens once it is running: material enters the cylinder, grinding media and rotation create the forces necessary for particle size reduction, and the finished material is discharged for the next stage of production.
But what goes into actually building the mill?
If you're unfamiliar with the major components of a ball mill, we have a more complete breakdown here.
One of the most important areas is the head and trunnion assembly. At Economy Ball Mill, manufacturing a head assembly involves much more than simply welding two pieces of steel together. The trunnion and head have to be prepared, fitted, welded, cooled, inspected, and stress relieved before the completed assembly is ready to become part of the mill. Our custom Economy Ball Mill designs use machine-turned trunnions to provide smooth operation and long service life.
What Are the Head and Trunnion on a Ball Mill?
The ball mill head is the large flat disc that forms the end of the mill cylinder.
At the center of that head is the trunnion: the large round component extending from the mill and providing an important part of the support and operating system. Before a head and trunnion ever reach final assembly, both components require careful preparation.
Step 1: Preparing the Trunnion and Ball Mill Head
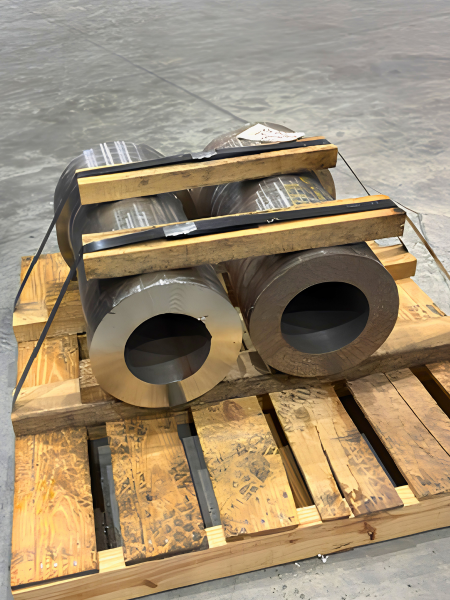
The trunnion begins as a large round steel component with a center opening. Before assembly, it is pre-machined to a rough diameter that is already close to the required finished diameter of the system.
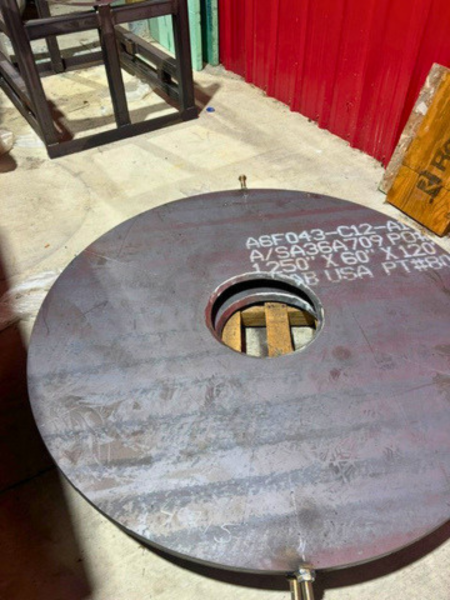
The head begins as a flat steel disc. That center opening then receives additional preparation. It is ground at an angle and brought to a smooth surface so the trunnion can be properly positioned for welding.
At this point, the two separate components begin becoming a single ball mill head assembly.
Step 2: Positioning, Preheating, and Making the First Weld
The trunnion is positioned within the prepared center opening of the head.
Before welding begins, the complete assembly is heated to a specified temperature. Once it has reached the required temperature, the first side of the trunnion-to-head joint is welded. This initial weld and heating is the first pass of the process.
It is important to remember that a component of this size isn't something we simply weld and immediately move to the next operation. The heating, welding, and cooling processes are controlled throughout fabrication.
Once the first pass has been completed, the partially welded head and trunnion assembly is wrapped in insulation and allowed to cool slowly.
Typically, it remains insulated until the following day.
Step 3: Flipping the Assembly and Completing the Weld
After the first controlled cooling period, the assembly returns to the weld table and is carefully turned.
Before welding the second side, foreign metal and slag remaining from the initial weld are removed. The joint can then be completed from the opposite side.
Once that weld is finished, the head assembly is placed under insulation again.
This second cooling period lasts approximately 24 hours.
It is a deliberate process of preparing, weld, cools, repositioning before moving forward to ensure strength and durability.
Step 4: Adding the Stiffening Ribs and Gussets
Once the welded head and trunnion assembly has cooled, the stiffening ribs, called gussets, can be added.
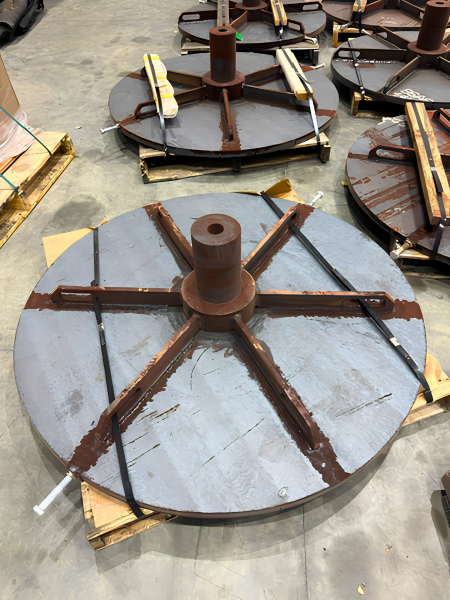
These structural components become another visible part of the completed head assembly and provide additional reinforcement before the head is installed onto the cylinder.
By this point, the assembly may look close to complete. But appearance alone isn't enough.
Step 5: Ultrasonic Testing the Weld
For industrial equipment that will ultimately support a rotating mill cylinder, grinding media, and the material being processed, weld quality isn't something we want to assume based simply on what we can see from the outside.
After fabrication, the entire head assembly undergoes ultrasonic testing. This allows us to inspect the welded joint and verify its integrity before the assembly progresses to the next stage.
Step 6: Stress Relieving the Head Assembly
Following successful ultrasonic testing, the fabricated head assembly is sent through the stress-relief process.
Once stress relief and the other required finishing operations have been completed, the heads are ready to be assembled to the ball mill cylinder.
And this is still only one part of building the complete mill.
From Steel Components to a Custom Ball Mill
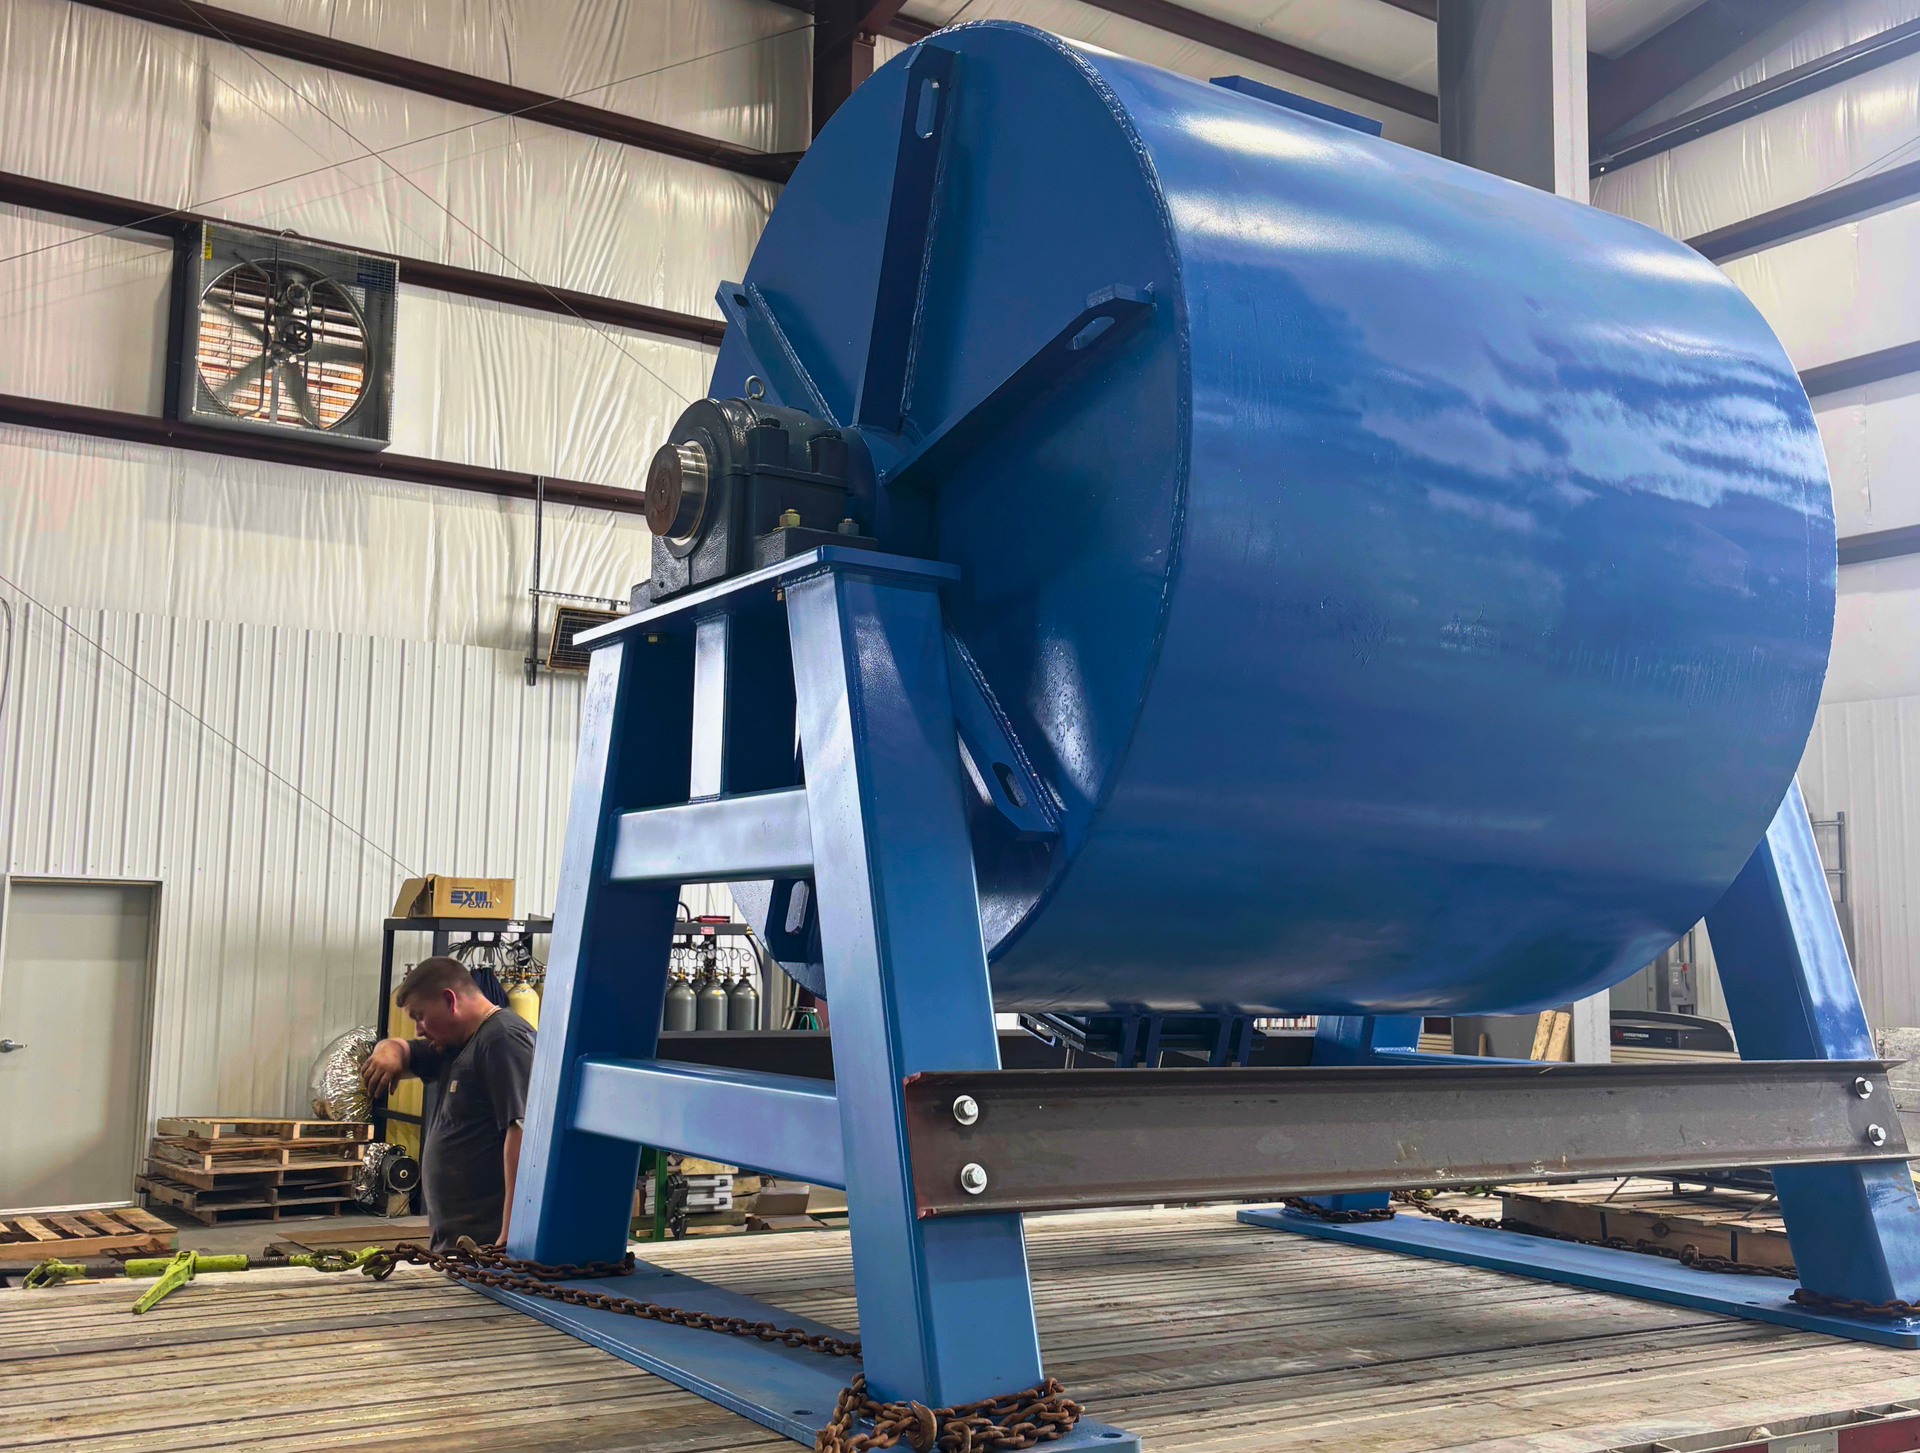
There are additional manufacturing steps involved that we haven't covered here, but this gives you an overall look at what goes into just one major area of a ball mill.
If you'd like to see what happens after a completed ball mill is put into operation, we walk through the actual grinding process here.
And if you're starting at the beginning and want a straightforward explanation of what a ball mill does.
Call to Learn More
Cylinder volume, material of construction, liners, grinding media, discharge configuration, drive system, and whether the application involves wet or dry grinding can all change depending on the customer's material and production requirements.
At Economy Ball Mill, we manufacture custom ball mills for companies processing materials across a wide range of industries. From our facility in Tollesboro, Kentucky, we work with customers worldwide to understand your project’s material, process, and production requirements—not just the dimensions of the machine.
If you have questions about a new ball mill, replacement cylinder, attritor mill barrel rebuild, or a custom solution for your material processing needs like toll milling or developmental testing, call Economy Ball Mill at (606) 798-5724 or visit https://www.economyballmill.com/contact.